How to Set Up Google as an IDP for use with CLOWD9
This document outlines the configuration steps required to set up Single Sign-On (SSO) between Google Cloud (Google Workspace) and the CLOWD9 system.
What You’ll Need
Before starting, make sure you have:
- Administrator access to the Google Cloud Console (https://console.cloud.google.com).
- Administrator access to the Google Admin Console (https://admin.google.com) for SAML configurations.
- Basic knowledge of the above two systems.
- Access to an account and browser for testing.
Why Use Google as an IDP?
Google Workspace is widely used for enterprise user management. Combining this with our authentication allows your application to use Google’s secure user database while leveraging our authentication component (Keycloak) for SSO and role management.
This setup is especially useful for businesses that want a unified login experience across multiple platforms.
Step 1: Understand the SSO Flow
Here’s how the SSO process works in simple terms:
- A user tries to access CLOWD9 Vista Portal.
- The app redirects them to Keycloak.
- Keycloak checks if the user is logged in. If not, it sends them to Google’s login page.
- The user enters their Google credentials (like email and password).
- Google verifies the user and sends authentication details back to Keycloak.
- Keycloak issues a token to the application, allowing the user to access it without logging in again.
- User roles from Google groups can be used to control what the user can do in the app.
- This flow ensures secure and smooth access while keeping user data managed in Google Workspace.
Step 2: Google Cloud Configuration
To enable KeyCloak to authenticate Google users, you must register an OAuth application in the Google Cloud Platform.
-
Login to Google Cloud Console (https://console.cloud.google.com).
-
Click + CREATE CREDENTIALS and select OAuth client ID.
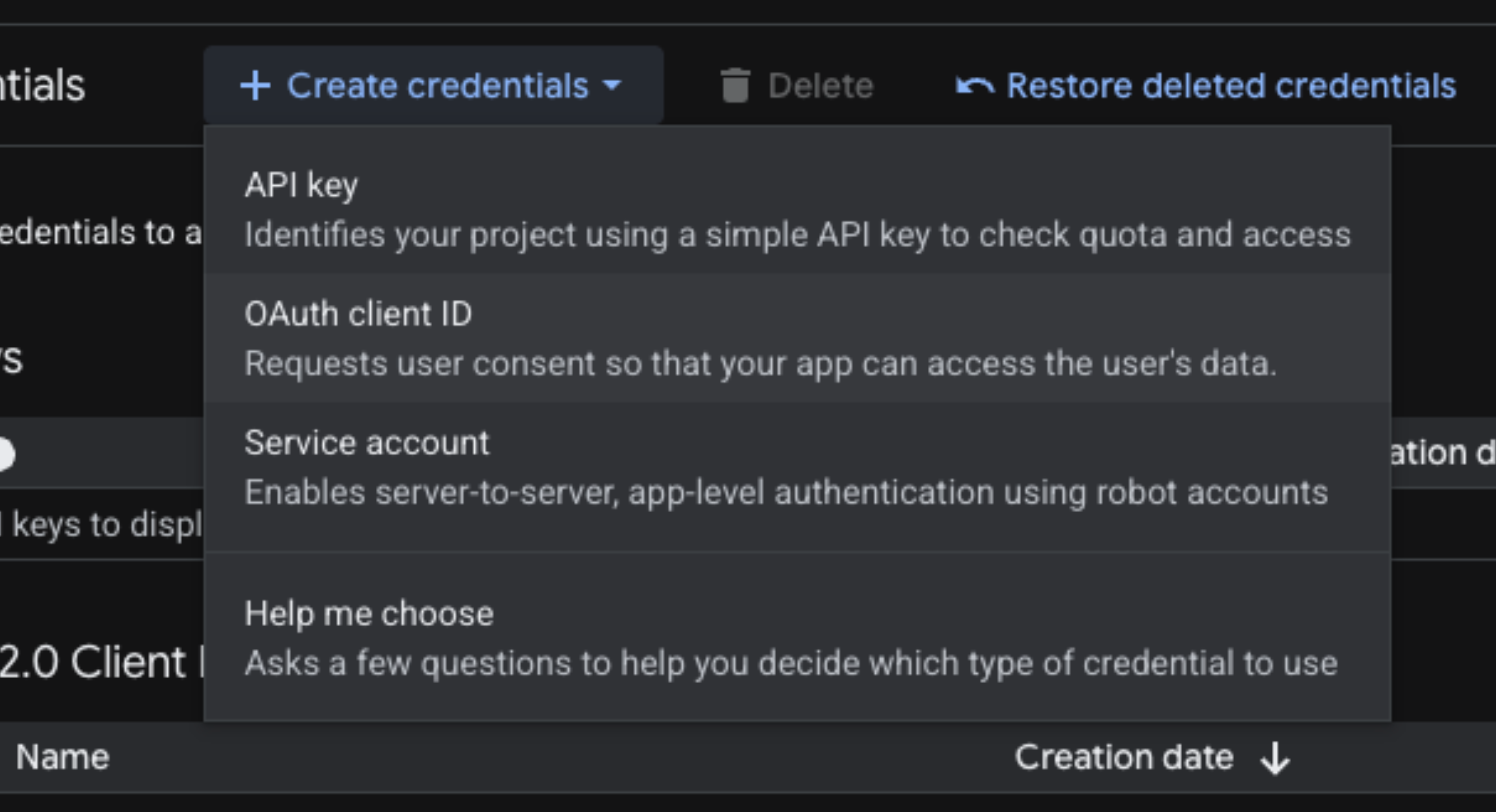
-
For Application type, select Web application
-
In the Authorised redirect URIs section, add the following: URLs:
https://keycloak.prod.clowd9.io/realms/vista/broker/google/endpoint
https://keycloak.prod.clowd9.io/realms/master/broker/google/endpoint
https://keycloak.prod.clowd9.io/realms/clowd9-vista/broker/google/endpoint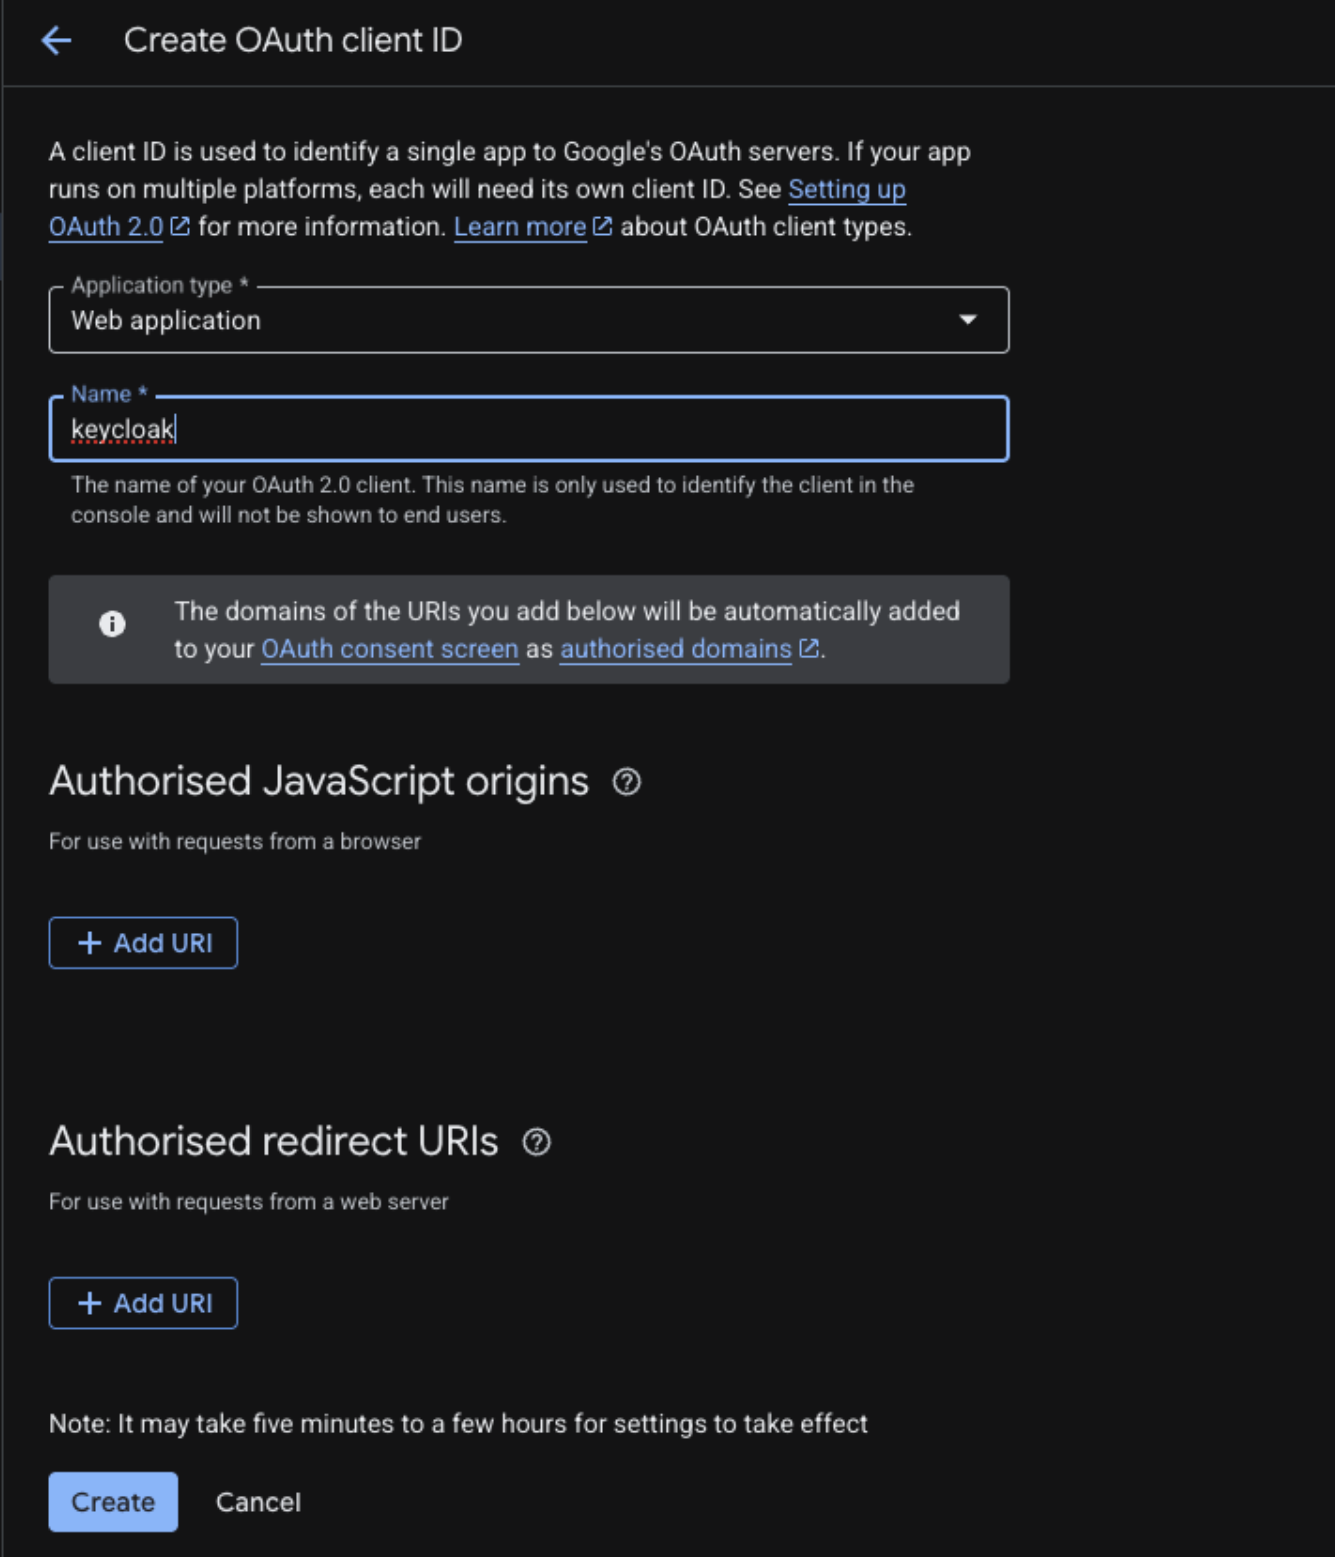
-
-
If your setup requires SAML integration alongside or instead of OIDC, please also provide the IdP metadata from your Google Workspace:
- Navigate to Security > SSO with Google as SAML IdP in the Google Admin Console (https://admin.google.com).
- Download the IdP Metadata file.
- Transmit this file securely along with the credentials.
Step 3: Sharing Information with CLOWD9
- Add IdP in KeyCloak by contacting CLOWD9
⚠️This is sensitive data do not share in plain text or over email⚠️
Please use a secure one-time password sharing tool (e.g., Snappass) to transmit the Client ID and Client Secret. - CLOWD9 will need this data from you:
- SAML XML Metadata (if applicable) metadata from Google Admin Console.
- OAuth Application ID, this is used as the Client ID from Google Cloud Console.
- OAuth Secret Value , this is used as the Client Secret from Google Cloud Console.
Step 4: Test Your Keycloak and Entra ID SSO Setup
To make sure authentication works correctly via Entra ID Single Sign-On (SSO) integration, follow these steps to test the login process. This will confirm that users can log in smoothly using their Entra ID credentials.
-
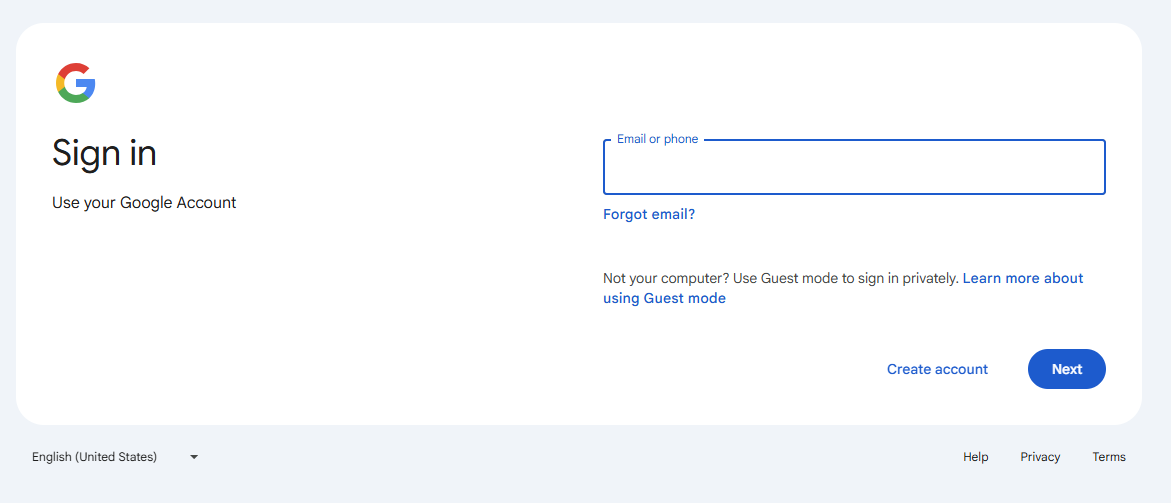
Open your browser and go to your CLOWD9 Vista Portal (logout if you are already logged in).
You should see a login page like the one below. Select the SSO option: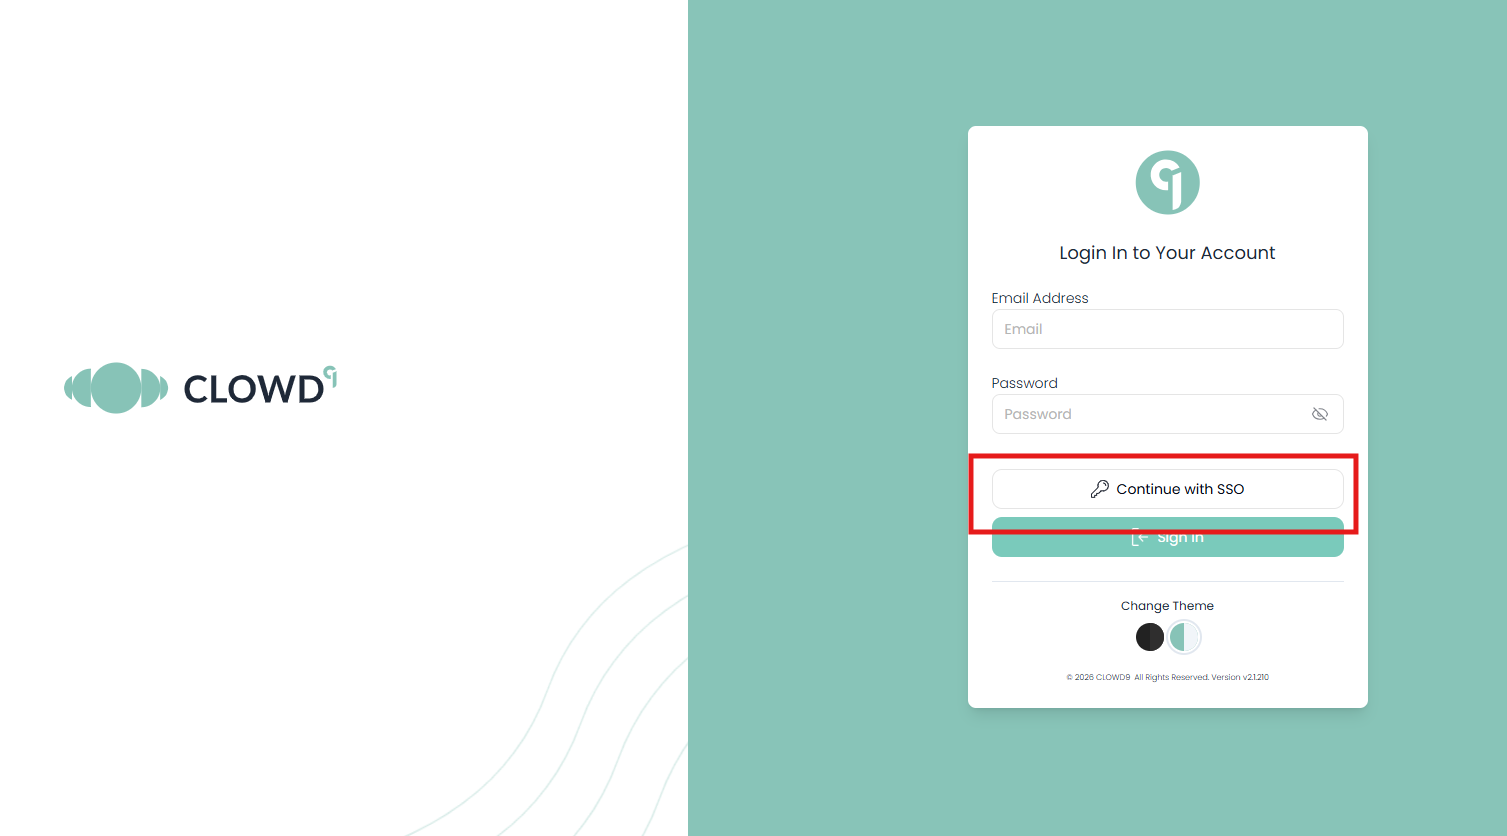
-
Enter your email address:
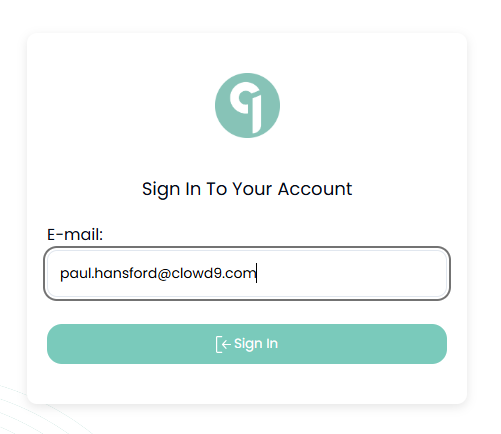
-
Follow the login steps for your company services:
-
That should complete your login and setup.
Seeing this page means the SSO integration is working correctly.
Step 5: User Group Synchronisation
If the system needs to synchronize user groups from Google Workspace (e.g., to map Google Groups to Keycloak Roles), you must configure a Service Account with Domain-Wide Delegation.
- Enable Admin SDK API
- In the Google Cloud Console, navigate to APIs & Services > Library.
- Search for Admin SDK API and enable it.
- Create a Service Account
- Navigate to IAM & Admin > Service Accounts.
- Click + CREATE SERVICE ACCOUNT.
- Name it (e.g., group-reader-sa) and click Create and Continue.
- Grant the role Viewer to the service account, then click Done.
- Click on the newly created service account, go to the Keys tab, and click Add Key > Create new key.
- Select JSON and create. Save this file securely – it contains the private key.
- Enable Domain-Wide Delegation
- In the Service Account details, go to the Details tab.
- Click Show Domain-Wide Delegation settings.
- Check Enable Google Workspace Domain-wide Delegation.
- Click Save.
- Copy the Client ID (Unique ID) of the Service Account.
- Authorize in Google Admin Console
- Log in to the Google Admin Console (admin.google.com).
- Navigate to Security > Access and data control > API controls.
- Under Domain-wide delegation, click Manage Domain Wide Delegation.
- Click Add new and enter:
- Client ID: Paste the Service Account Client ID copied earlier.
- OAuth Scopes: Add the following scopes (comma-separated): Plaintext
https://www.googleapis.com/auth/admin.directory.group.readonly,
https://www.googleapis.com/auth/admin.directory.user.readonly
- Click Authorize.